Prerequisites:
- A Microsoft Azure account.
- Working knowledge of creating a file share in Azure. If not, check one of my previous articles here.
- On-premises File server running Windows Server 2012 or above.
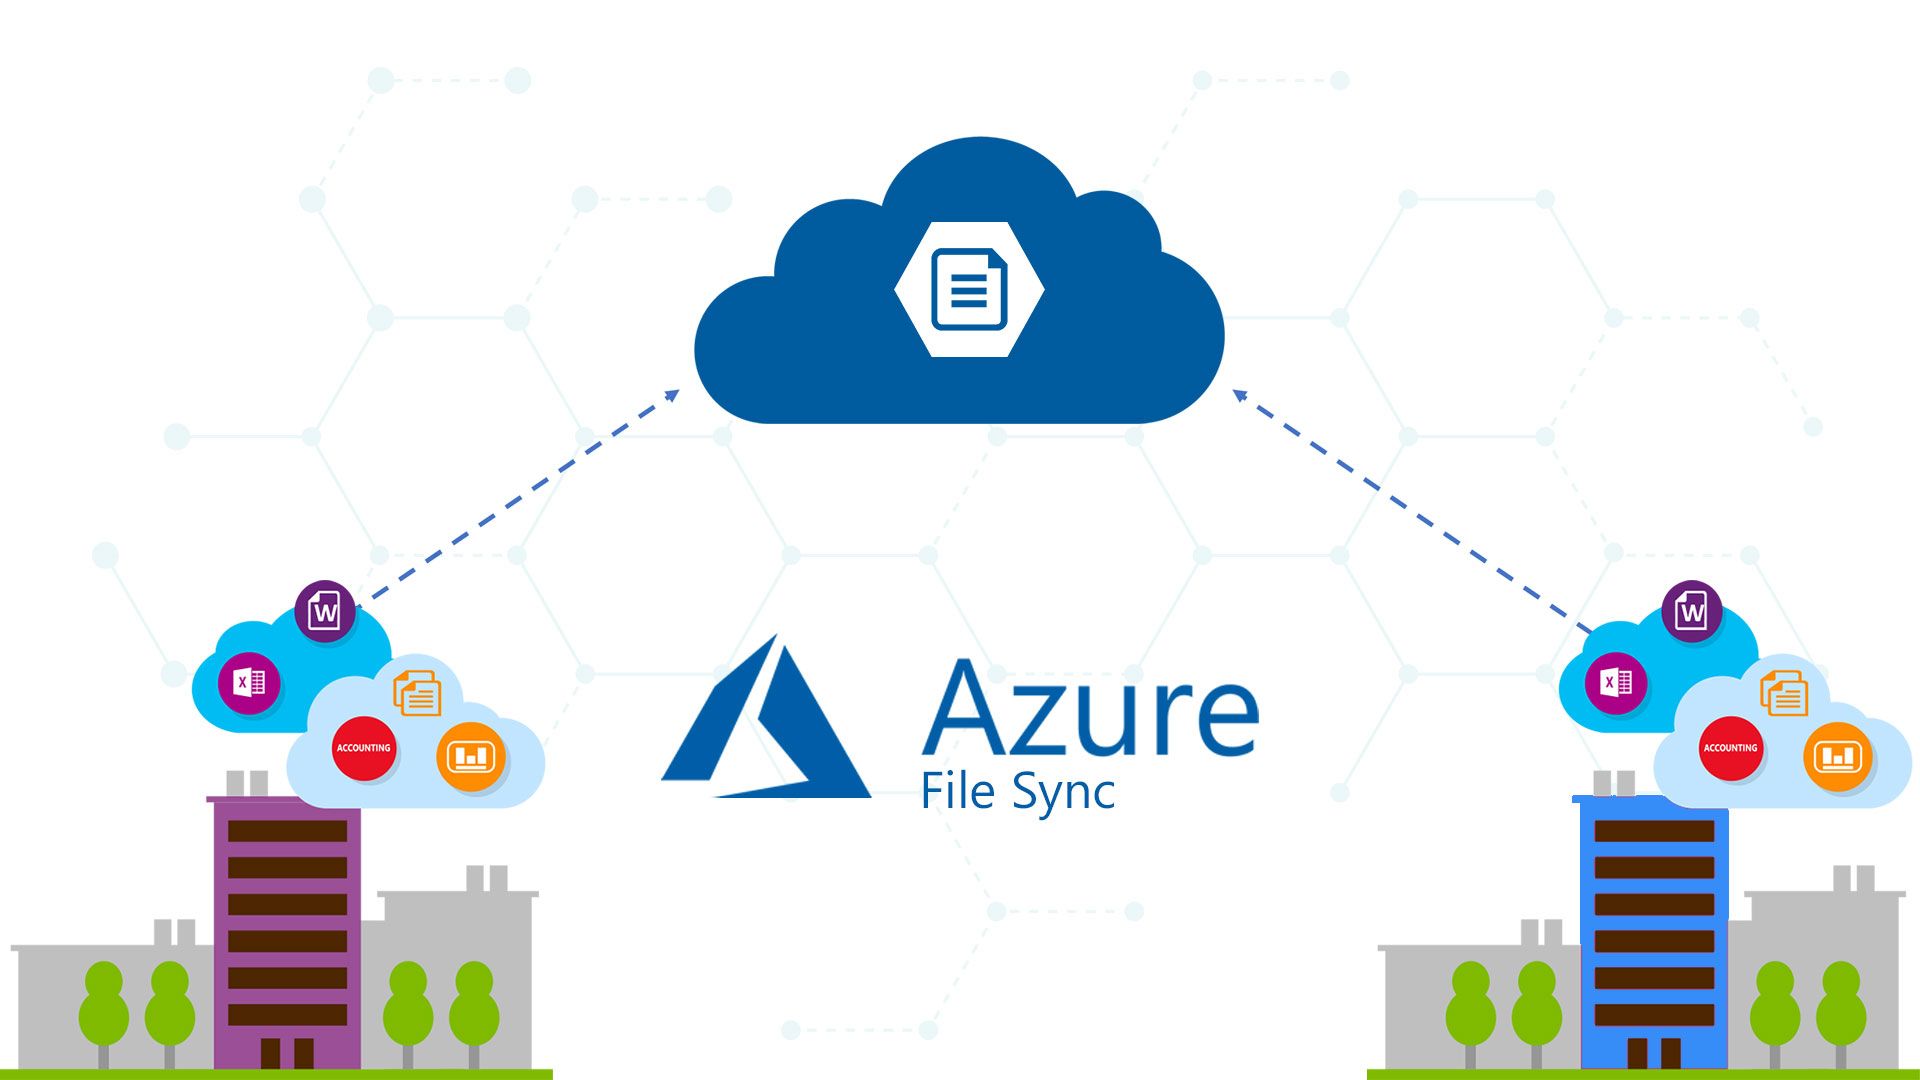
The Azure file sync service enables you to extend your on-premises file servers' capabilities by creating cloud distribution endpoints that act as file servers in Azure, giving you more storage and disaster recovery options.
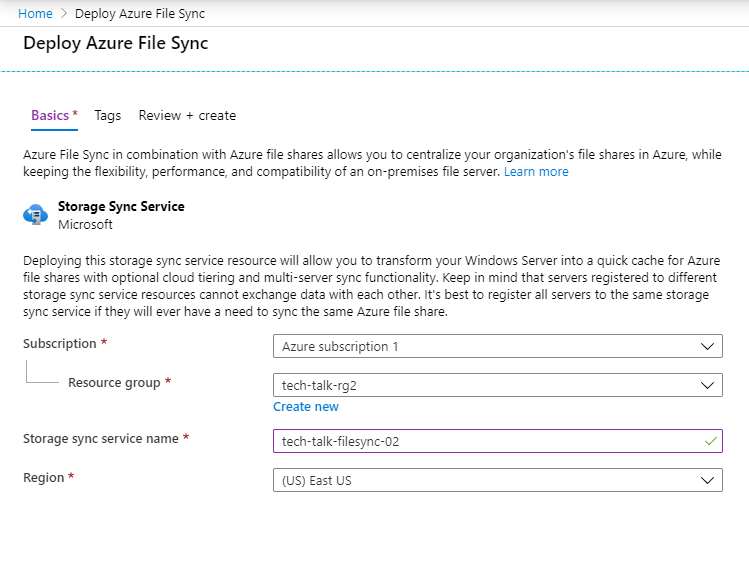
To get started, we create an Azure file sync resource.
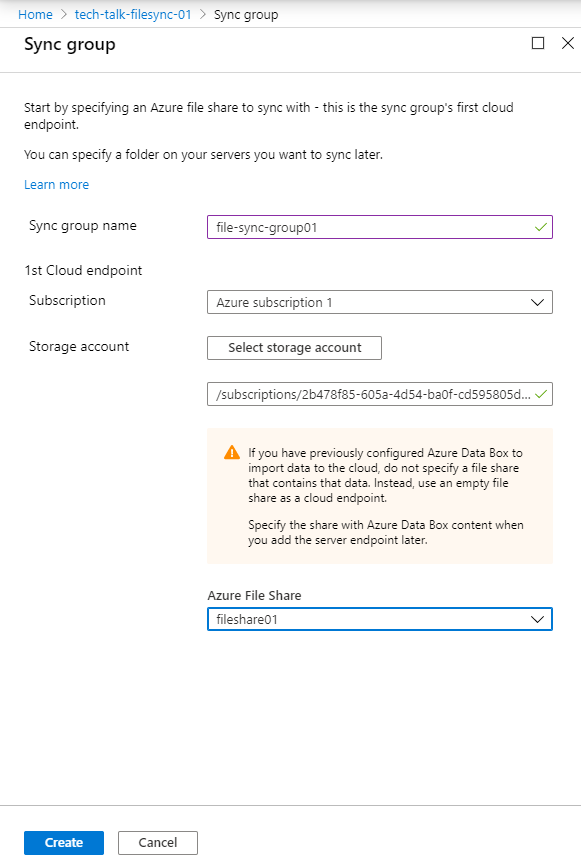
Thereafter, we create a sync group. A sync group defines the on-premises file server endpoints that we will use to sync files with the cloud endpoints.
After creating a sync group, we head over to our on-premises file server and install the Azure file sync agent. The agent can be accessed from the link below.
https://www.microsoft.com/en-us/download/details.aspx?id=57159
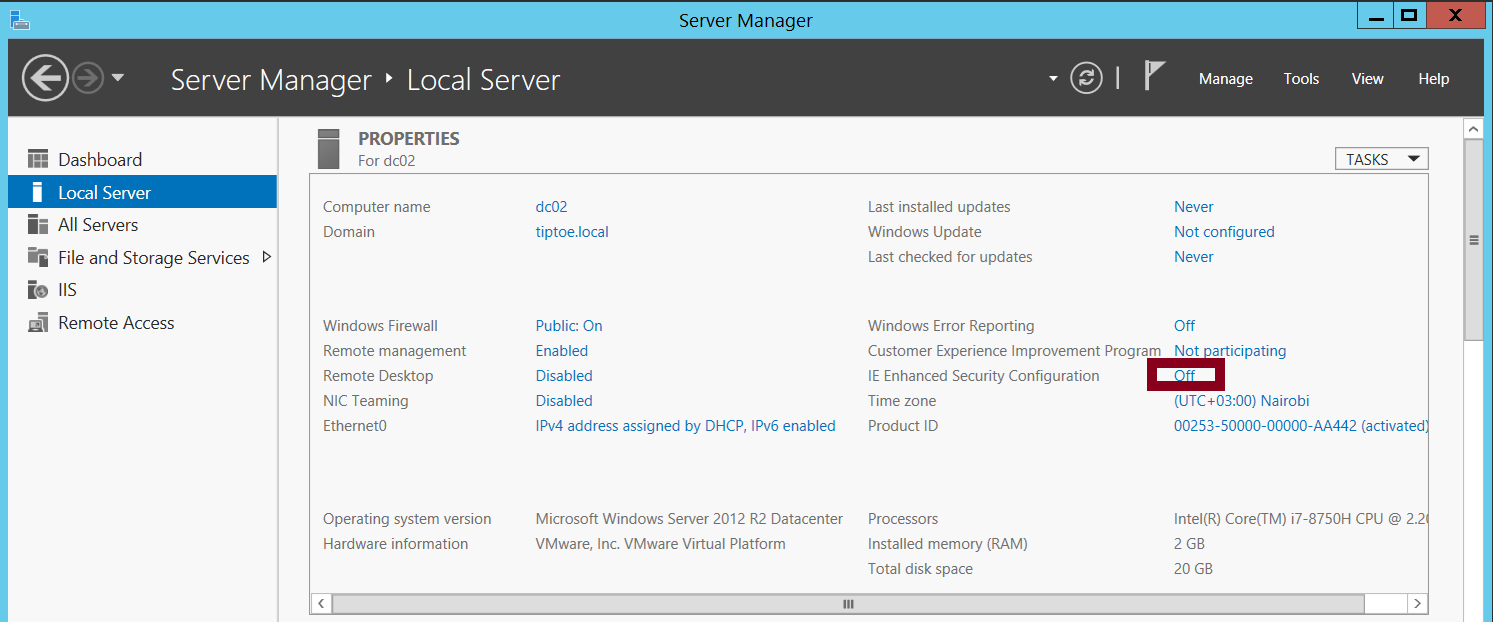
You also need to make sure that you have disabled "Internet Explorer Enhanced Security Configuration." One quick way of doing this is through the server manager, as shown below.
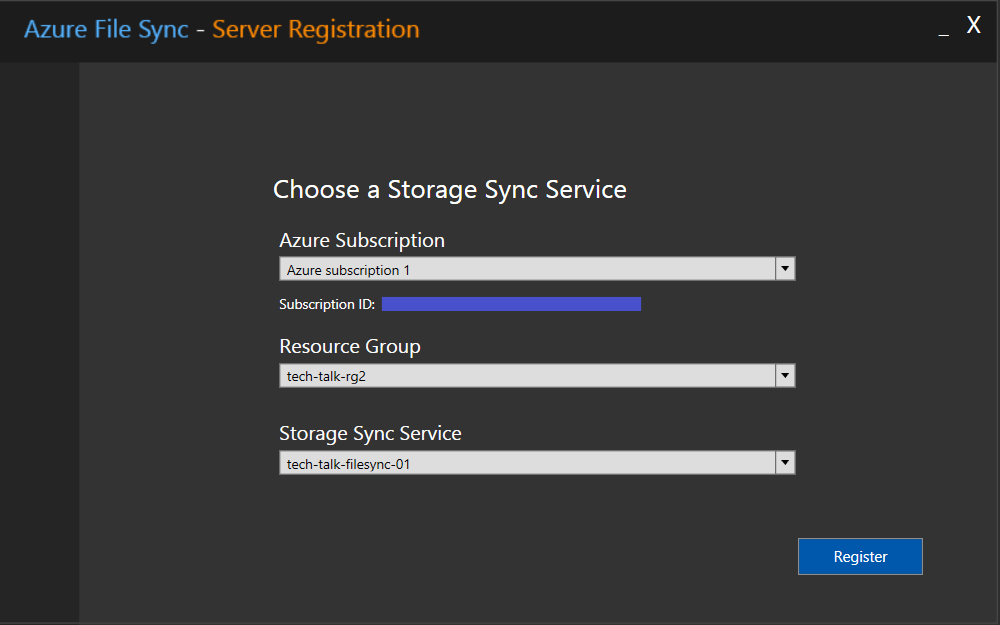
Next, register your on-premises file server using the Azure file sync agent. If you closed the file sync agent by accident, you can still find it under this location and re-run it. "C:\Program Files\Azure\StorageSyncAgent\ServerRegistration"
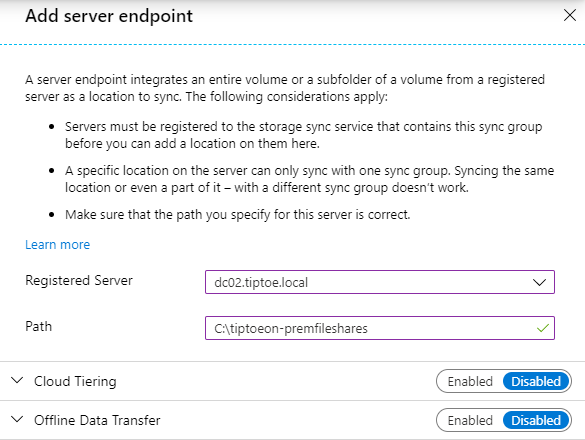
Back in your Azure portal, associate a server endpoint with your sync group, add a path to your on-premises file shares, and finally create the endpoint.
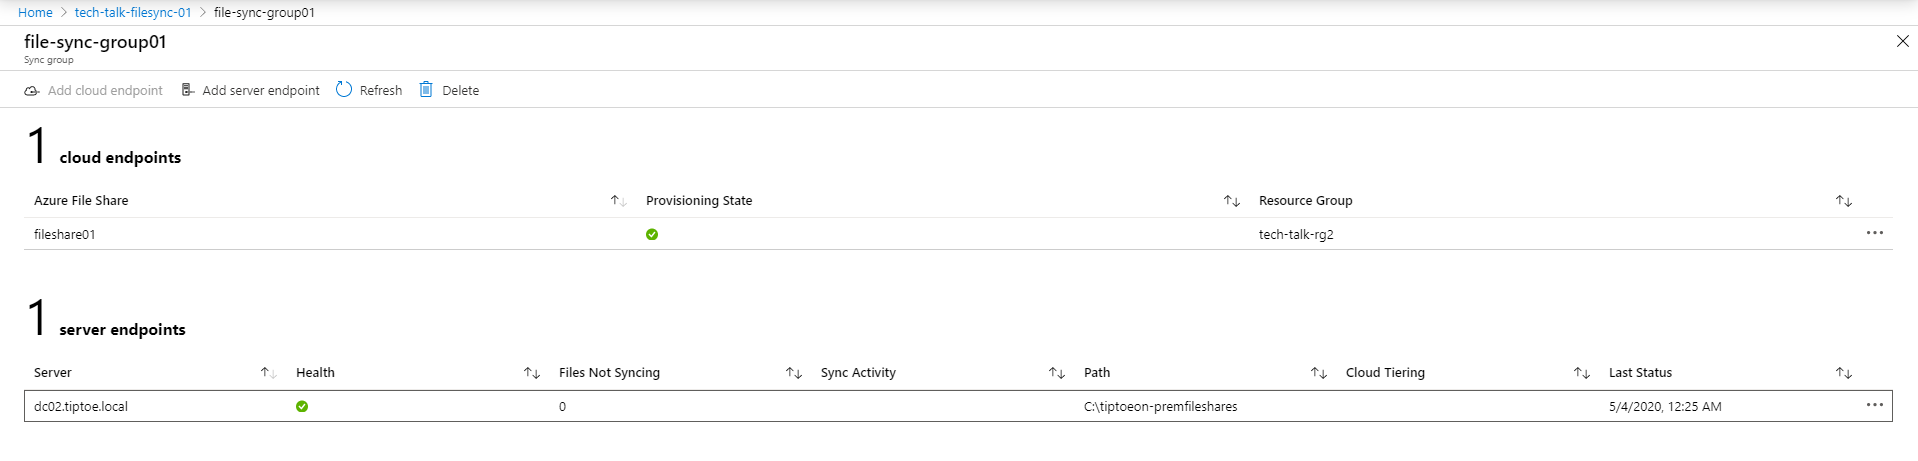
Next, your file-sync group will appear as seen below, meaning there's a sync connection between your file servers on-premises and in Azure.