The MongoDB shell is an interactive JavaScript interface used to access a MongoDB database to query, update data or perform database management operations.
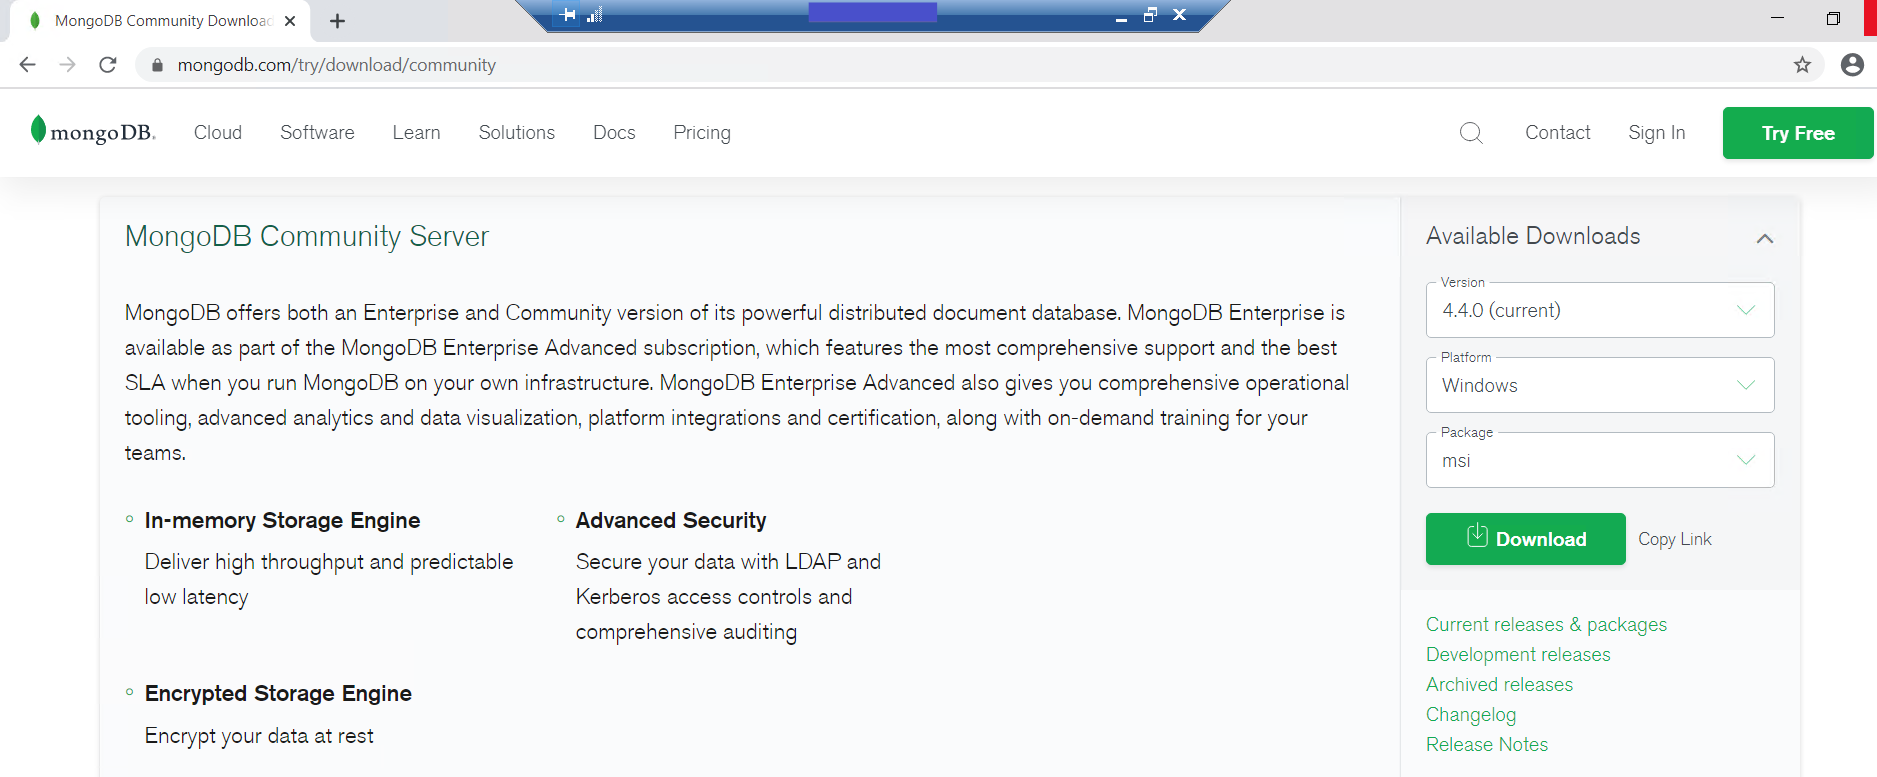
To get started, you will need to have a downloaded copy of MongoDB from the official website.
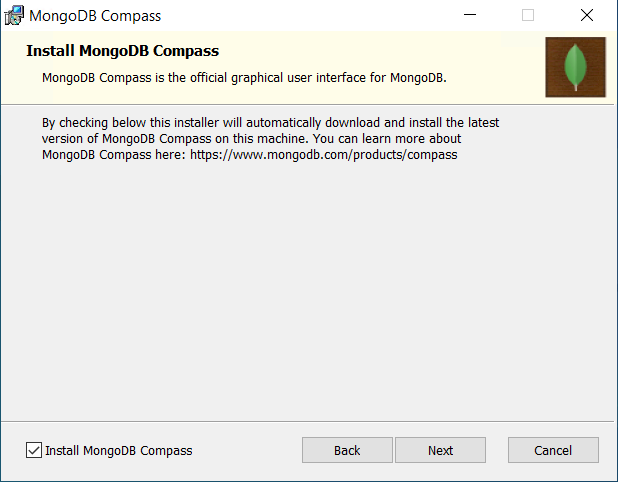
I will select complete installation on the installation page and then choose MongoDB to run as a network service.
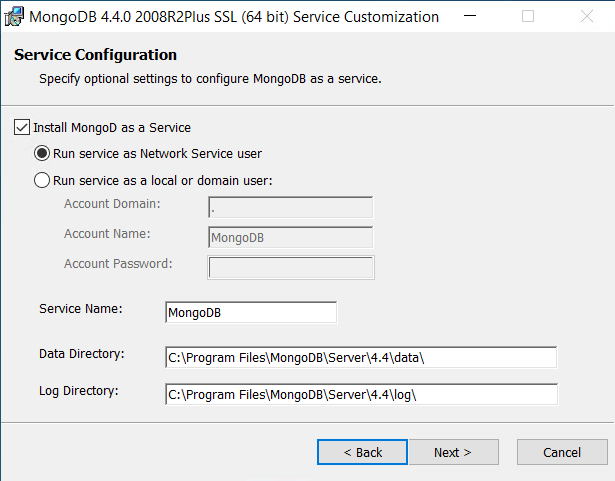
Next, check the MongoDB compass check box. This will help us access our MongoDB instance through a GUI, for this article, access will be performed through the shell.
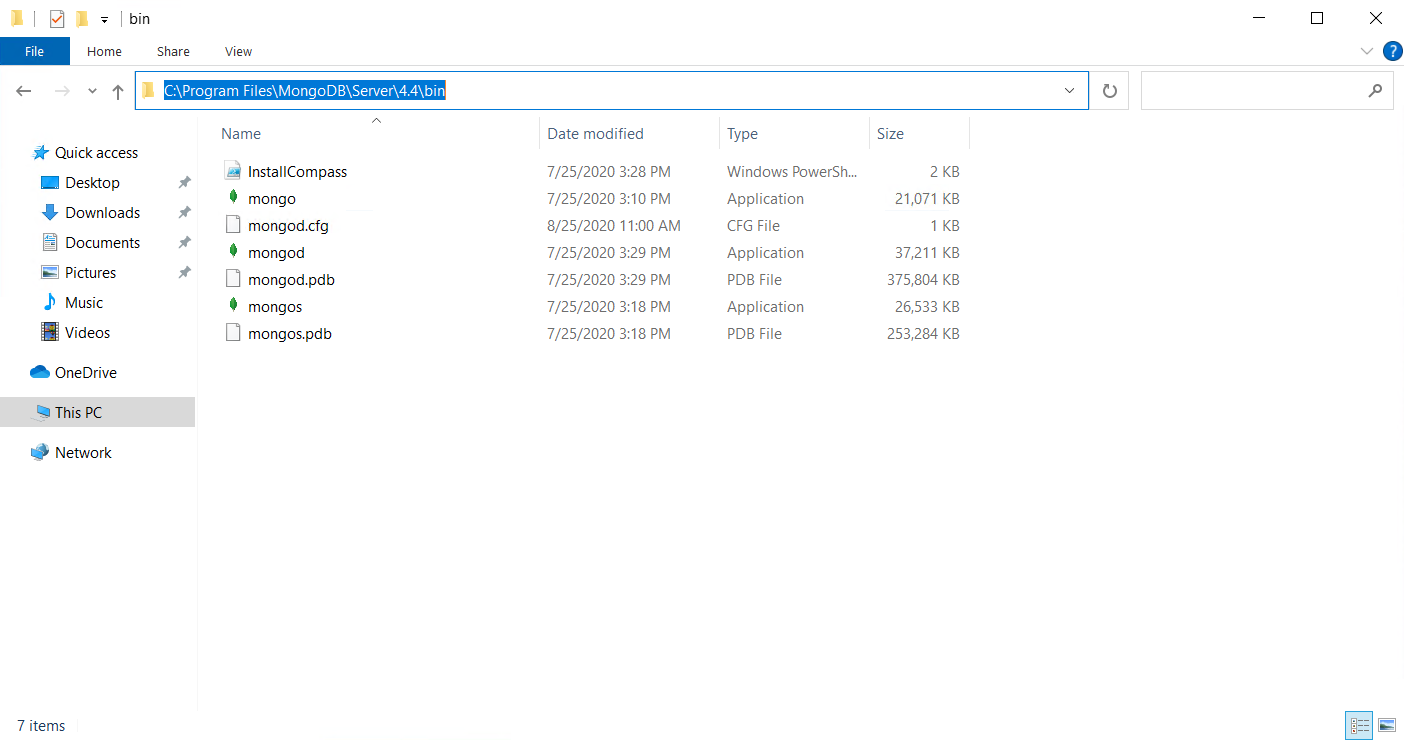
Once it's done installing, you can access the folder that contains the installed files using the path as shown below.
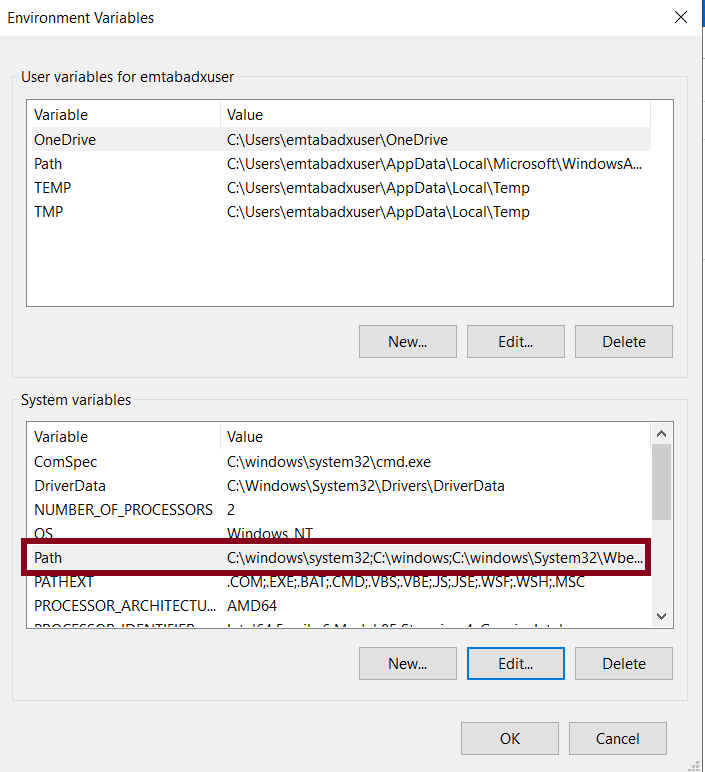
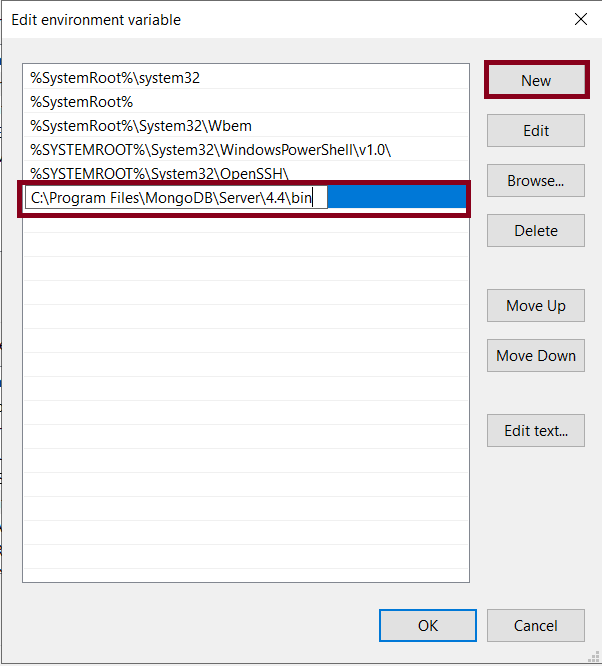
Next, edit the system environment variables to run the executables above in the command line without having to specify the full path.
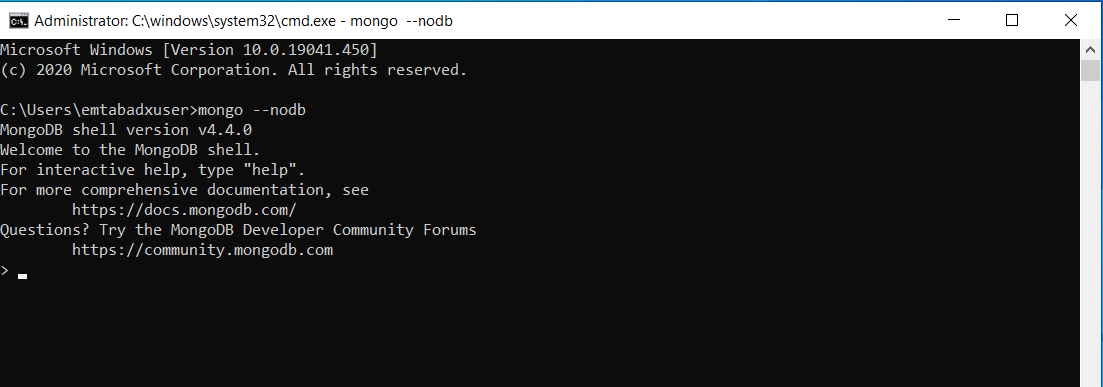
Next, open up a new command-line session and then run the command below to verify that your change is working perfectly.
mongo --nodbYou will then be able to confirm that Mongo has been successfully installed.