Azure AD Connect is a software tool used to connect an existing on-premises environment to Azure AD and maintains the synchronization of objects from both environments.
Before we start this tutorial, make sure that you already have an Azure AD tenant set up ahead of time. Check this link from a previous article to see how it's done.
To get started, download the tool from the URL below and then install it on the Primary domain controller on your on-premises environment and make sure that you are logged in with an account with Active Directory Domain Administrator permissions.
https://www.microsoft.com/en-us/download/details.aspx?id=47594
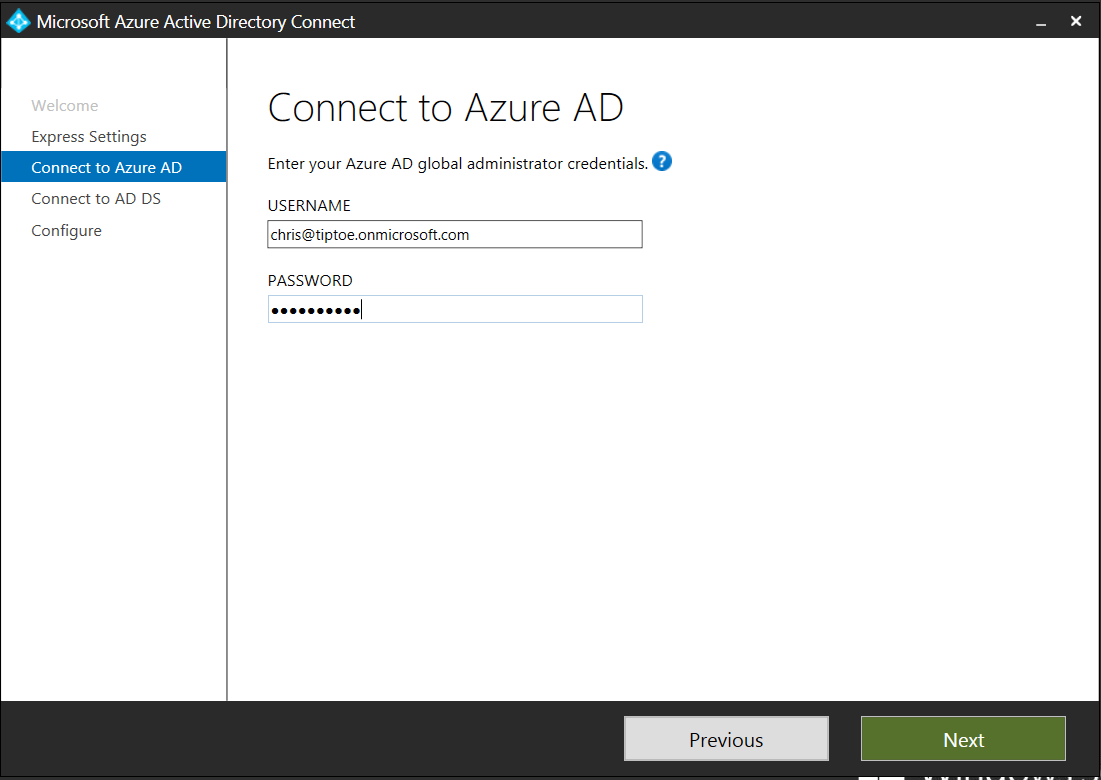
Next, insert the credentials of the Global administrator of Azure AD, as shown below.
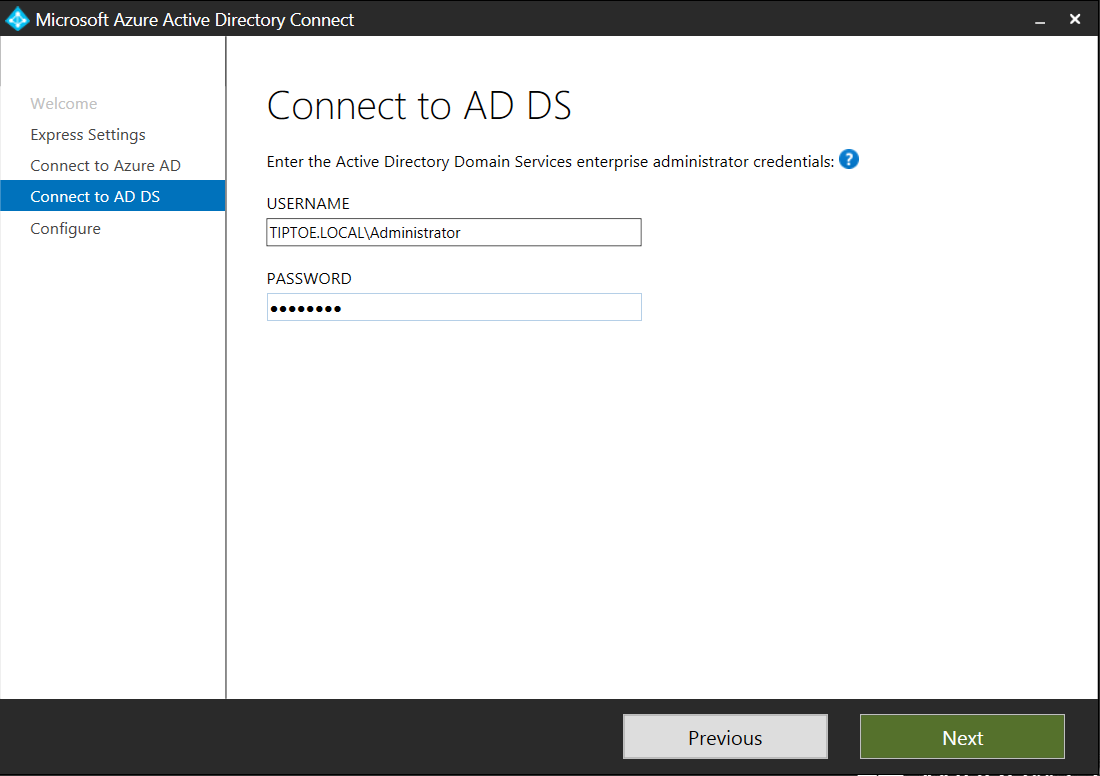
Next, insert the credentials of the Domain Administrator of your on-premises environment.
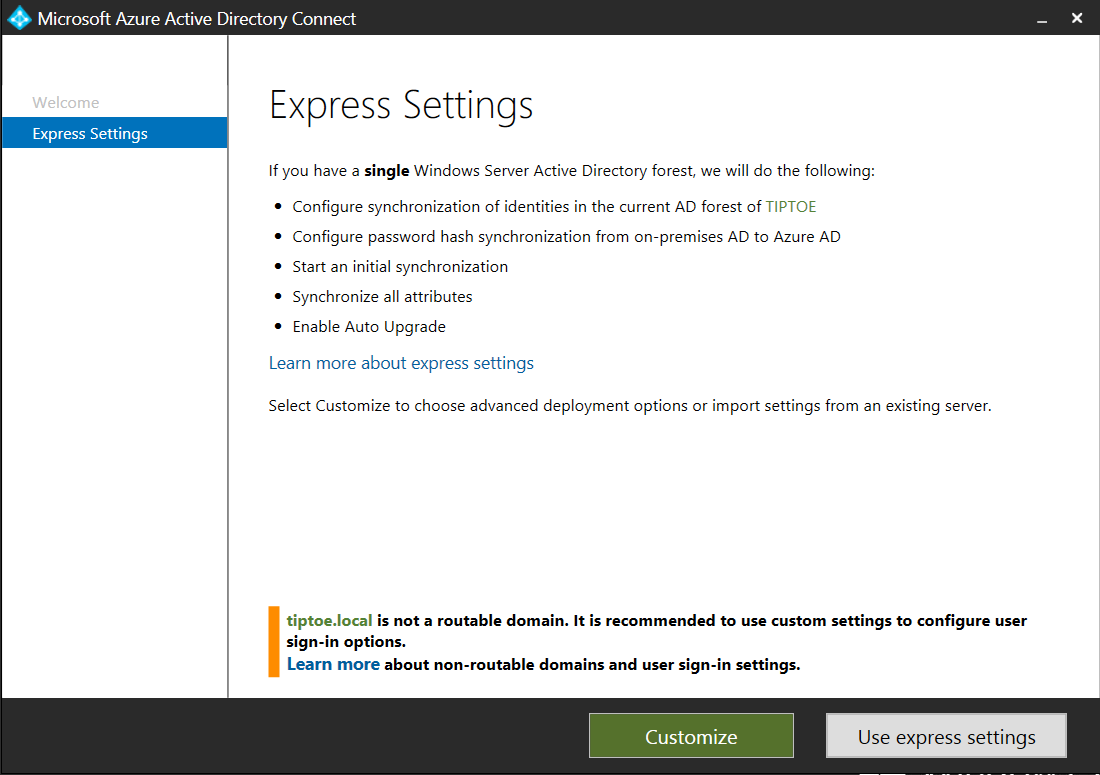
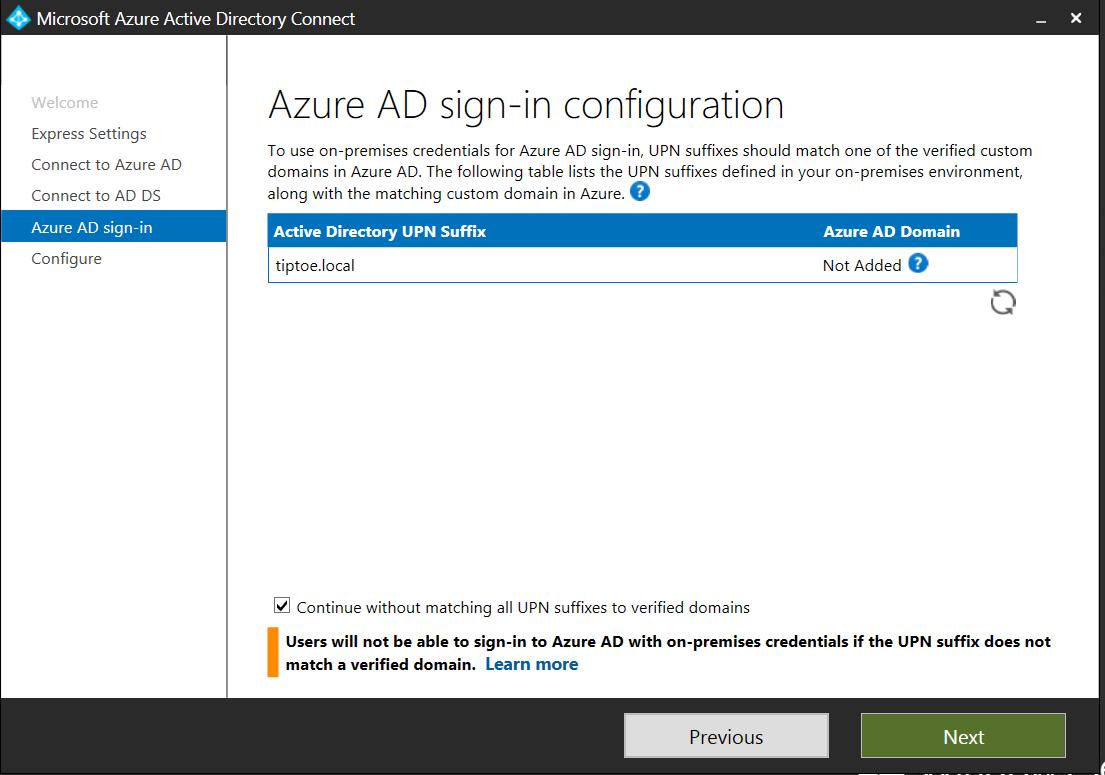
Eventually, you will be presented with the sign-in configuration page. Click Next.
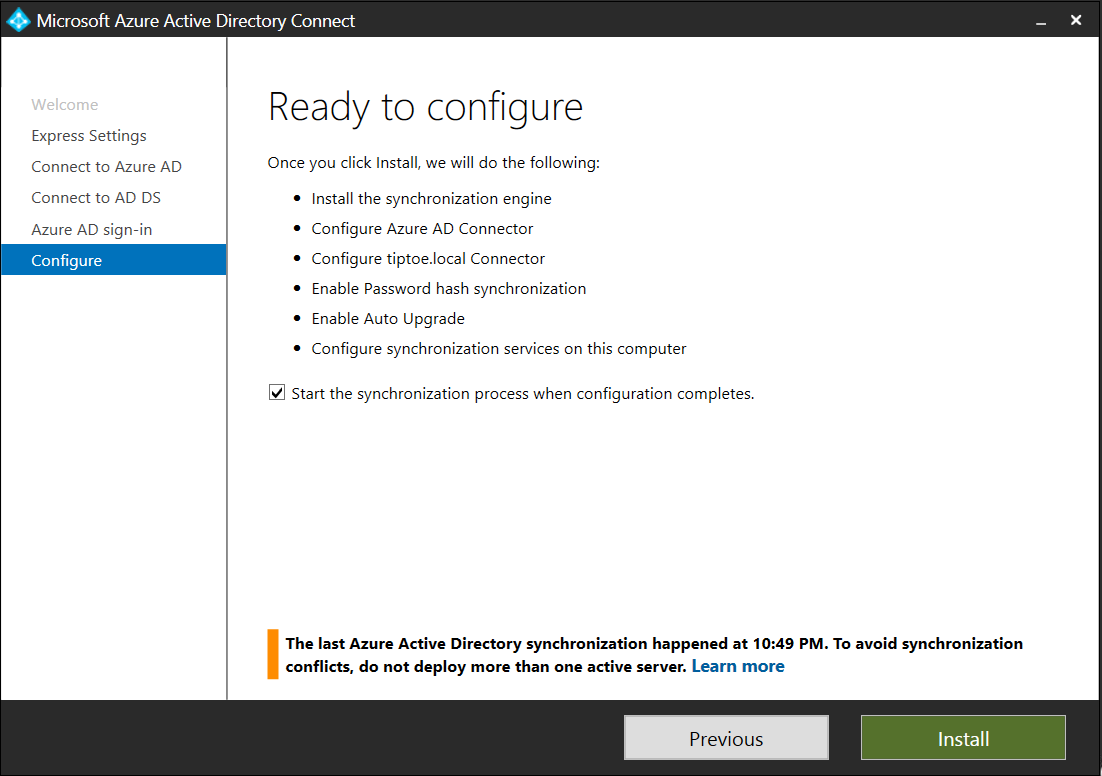
Next, click install.
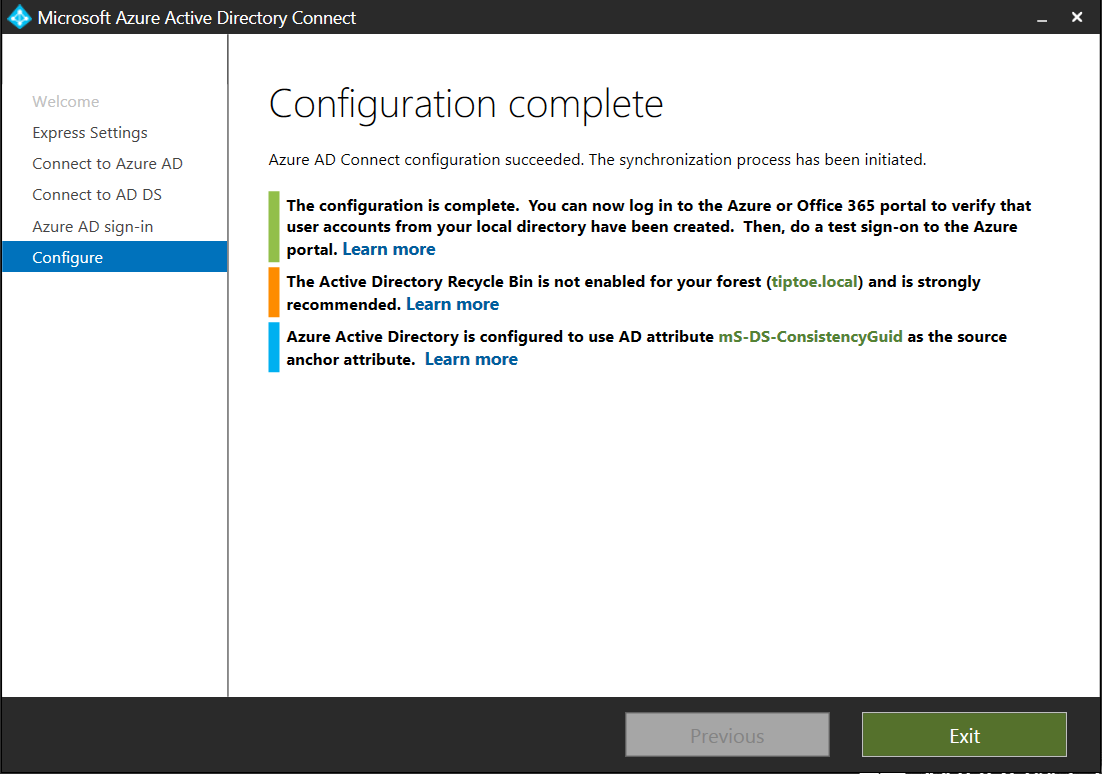
The Installation and synchronization process can take up to about 5 - 10 minutes depending on the size of Active directory objects you have in your on-premises environment.
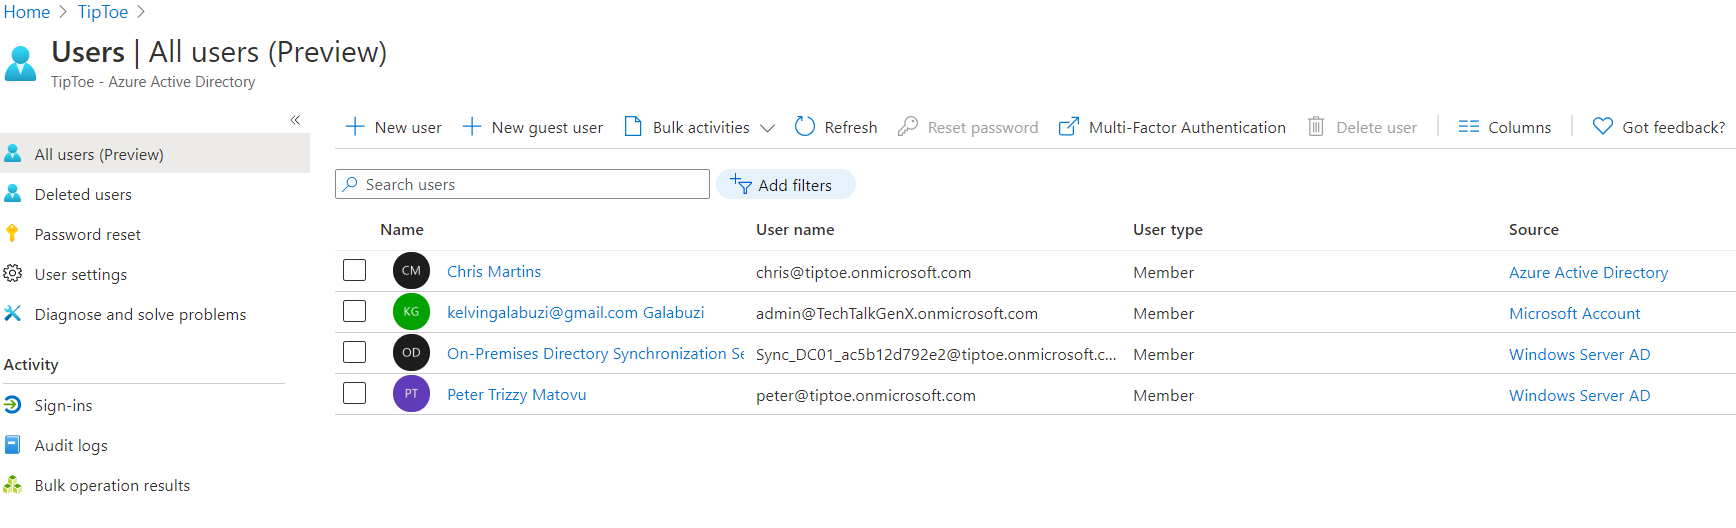
Next, you will be able to see your users in the portal. I had only one user and you can confirm that from the source column, which shows Windows Server AD on user Peter Trizzy Matovu.