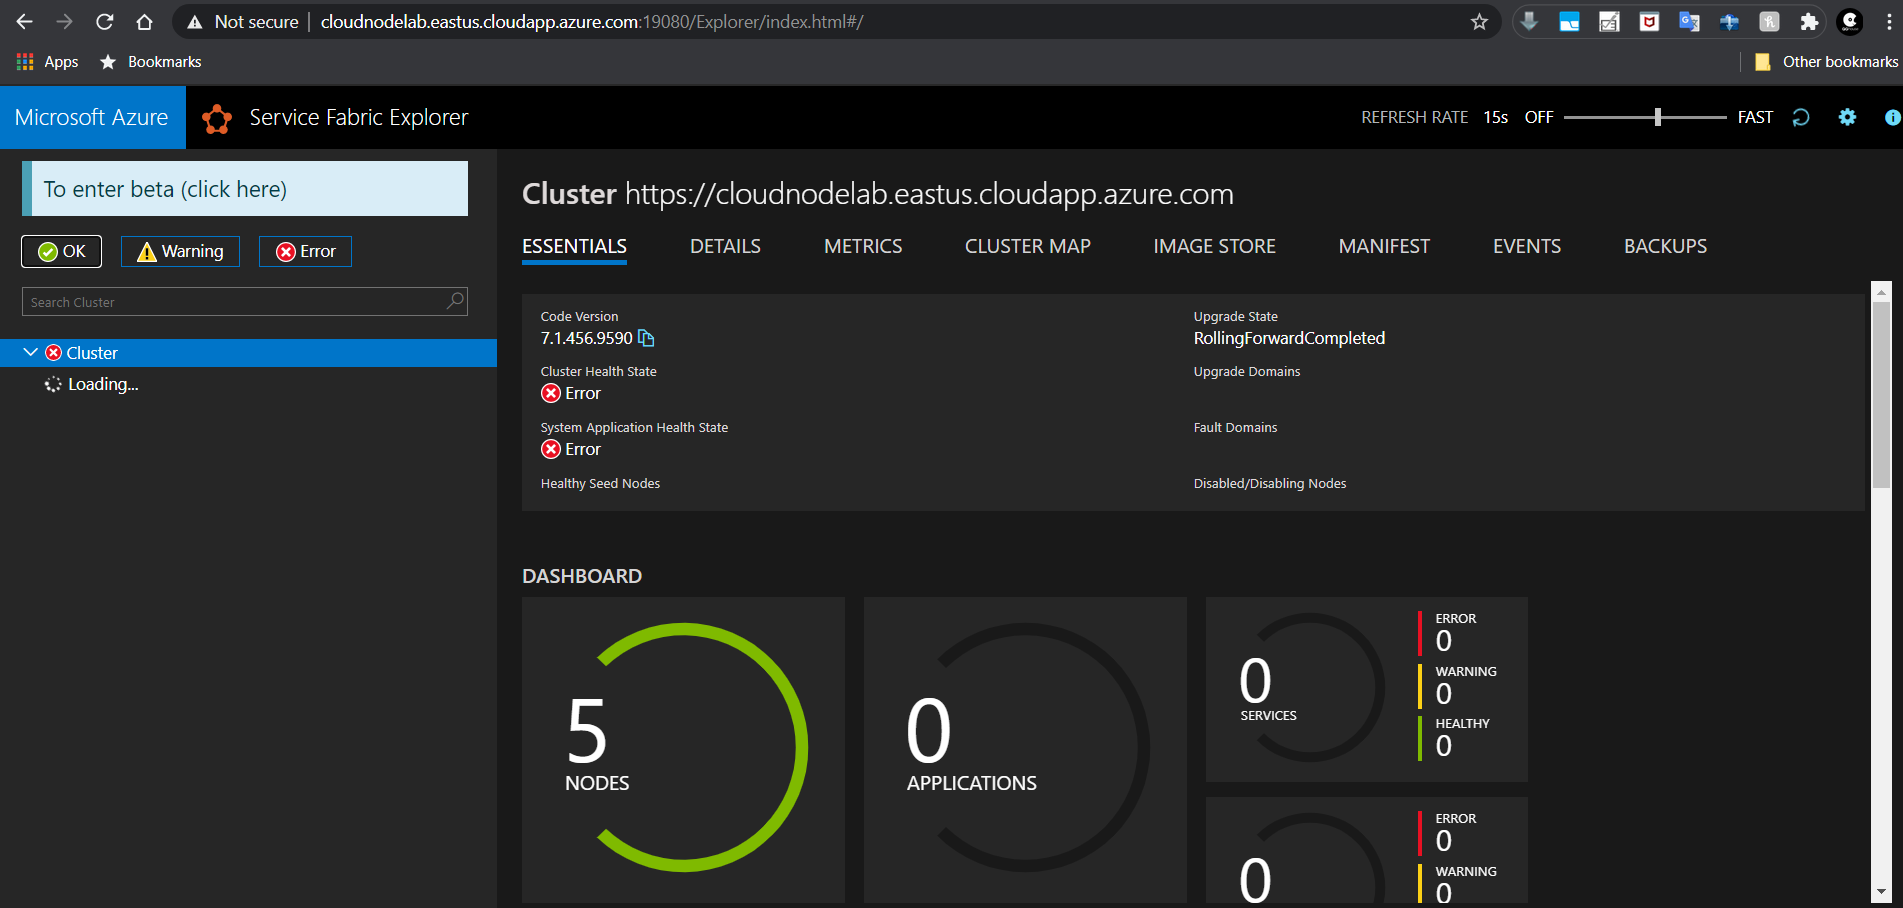
Azure Service Fabric is used to deploy and manage micro-service-based Applications in Azure and on-premise environments.
It uses virtual machine scale sets in the background to scale up the micro services' availability in case of increased demand.
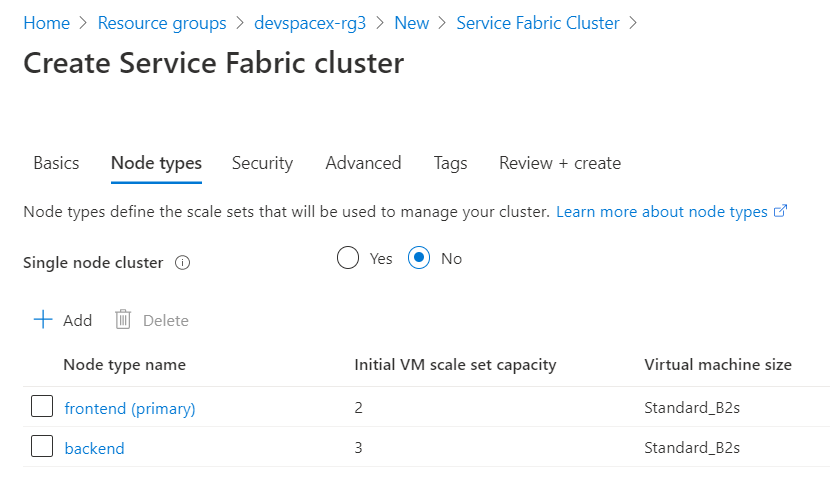
Azure Service Fabric has node types used to define your workload types, for example, one node type for back-end services and another for front-end services.
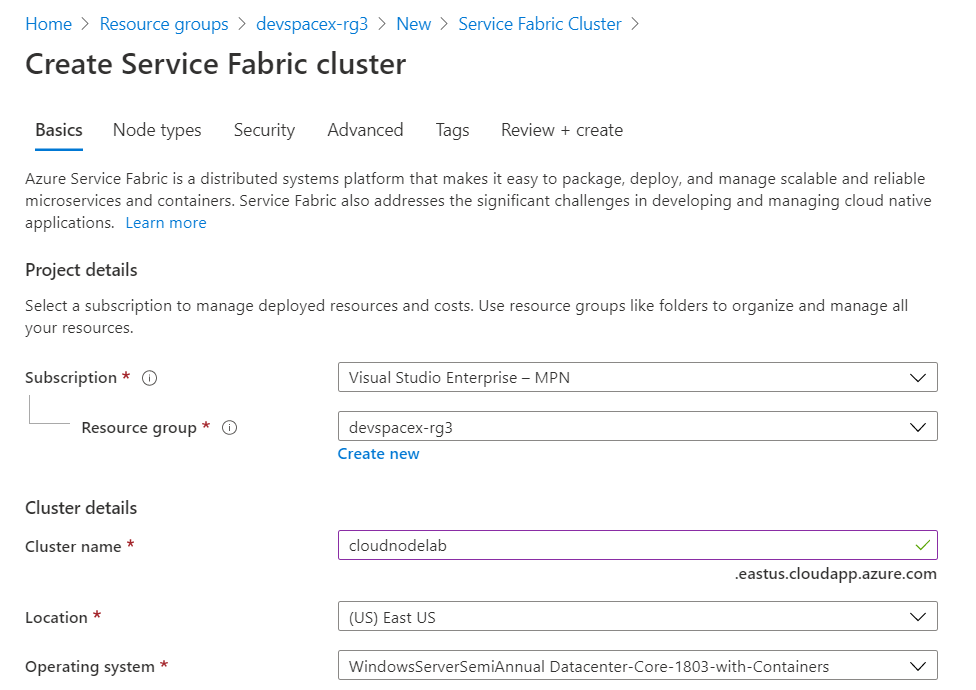
To get started, search for an Azure Service Fabric resource in the portal.
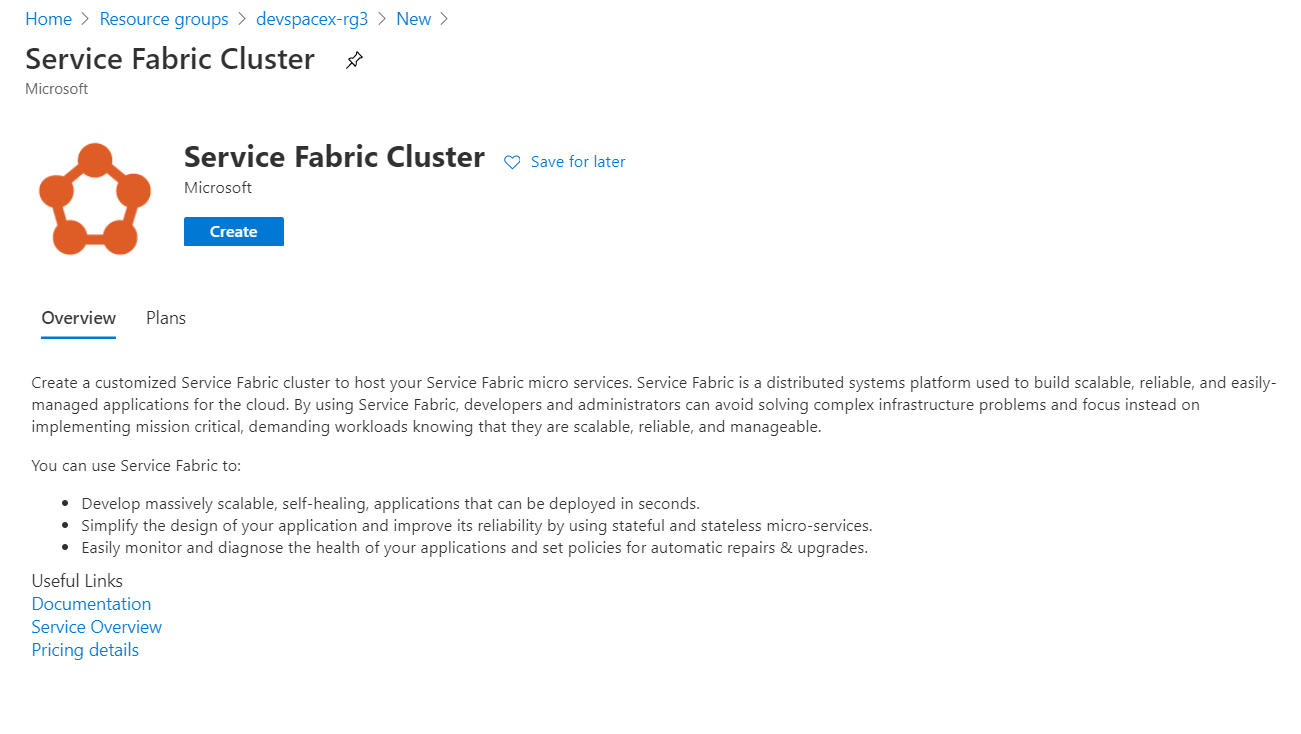
Next, click create and then give your Service Fabric Cluster a name and the administrator username and password.
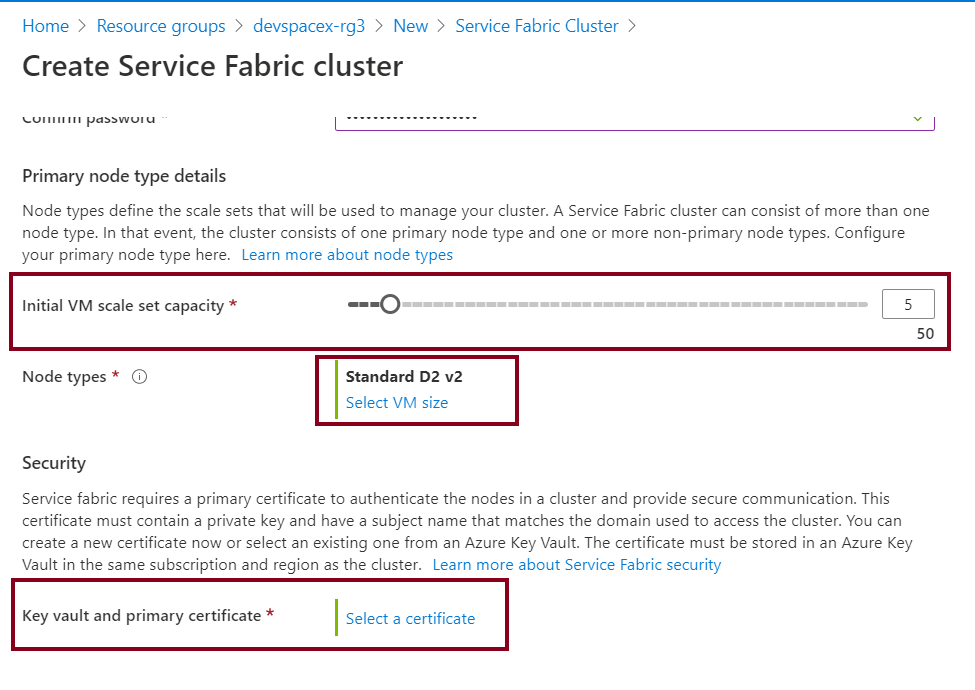
Next, select your initial virtual machine scale set capacity. For production environments, It's recommended to have at least 5. When that is done, click on the last option to set the key vault primary certificate. Notes on how to create a key vault are available here in one of my previous articles.
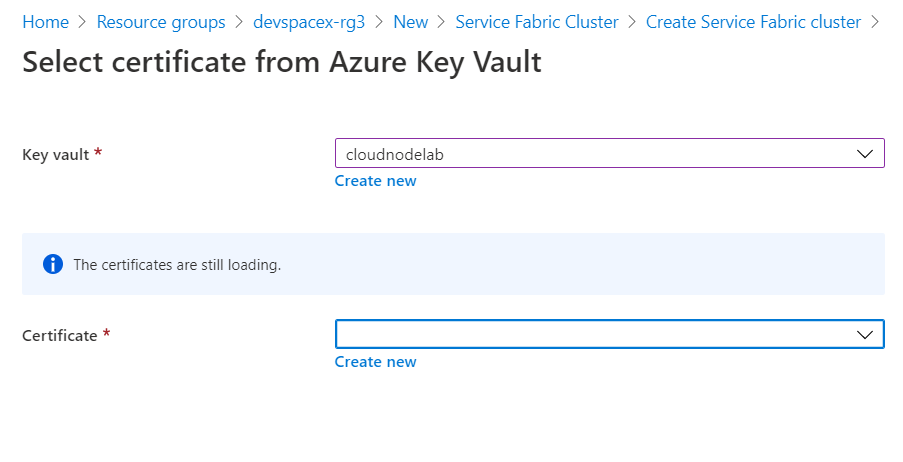
Next, select your preferred key vault and click create a new certificate.
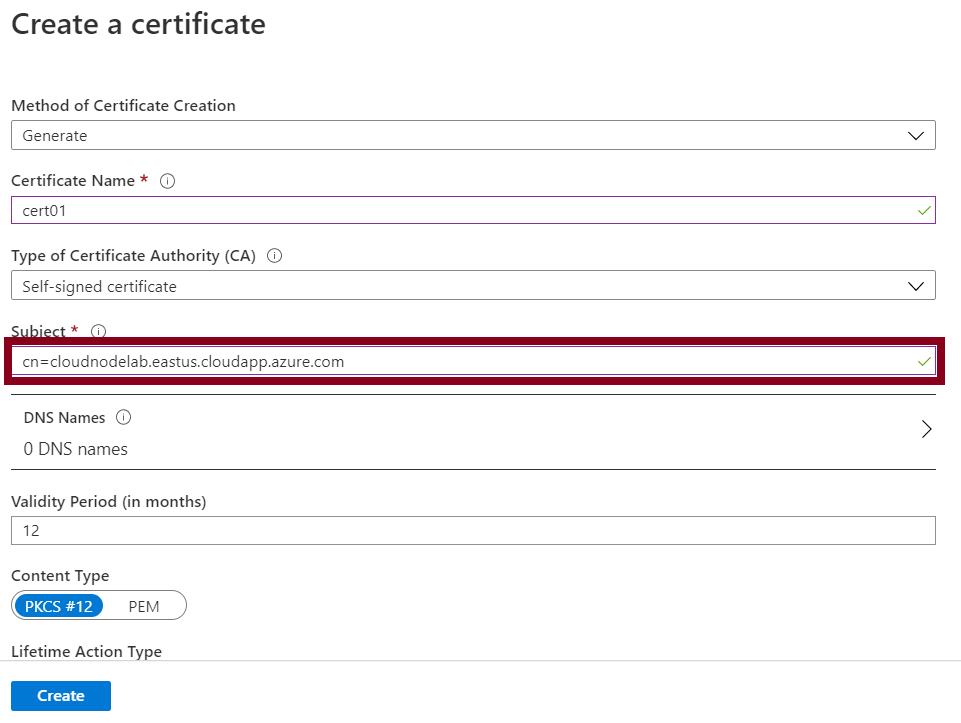
The self-signed certificate is used to enable secure node to node communication (cluster authentication) within an Azure Service Fabric cluster. It allows authentication of management endpoints (server authentication) to a client endpoint in that case is the browser. Note that the subject common name to the certificate should be the fully qualified domain name of your cluster.
After creating and selecting your new certificate, you should then go to the next page and create your node types, as shown below. My first node type is the front end with 2 virtual machines and the back end with 3 virtual machines.
Next, leave all settings to their defaults in the next tabs, which are Security and Advanced, and then create your cluster.

Cluster creation takes about 10-15 minutes.
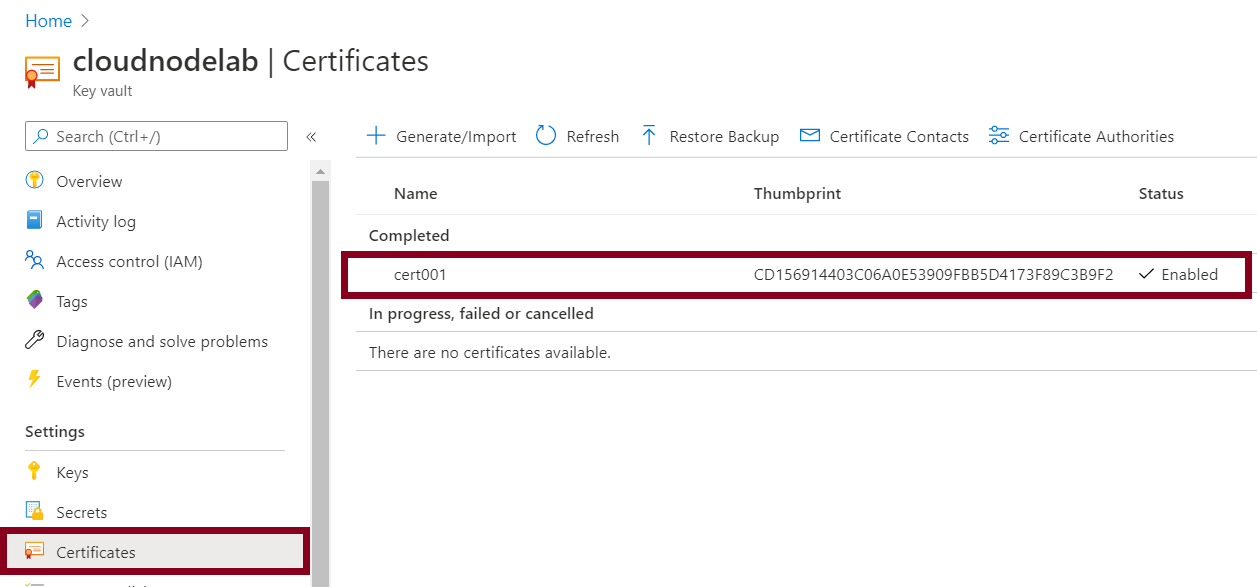
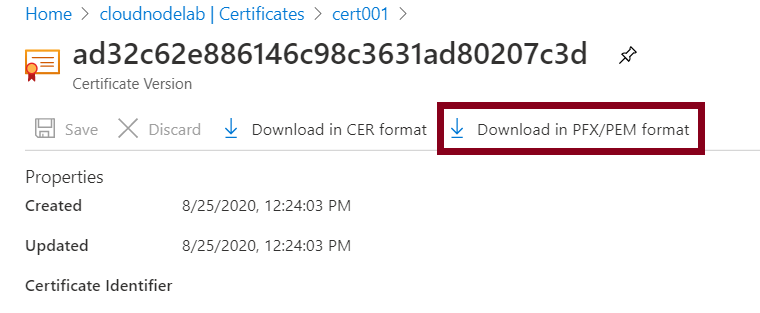
When it's done, the next step is to import the self-signed certificate (.pfx) format to your client computer to access the Azure Service Fabric through the fabric explorer. To do that, you'll need to go to the Azure key vault and then access the certificates section.
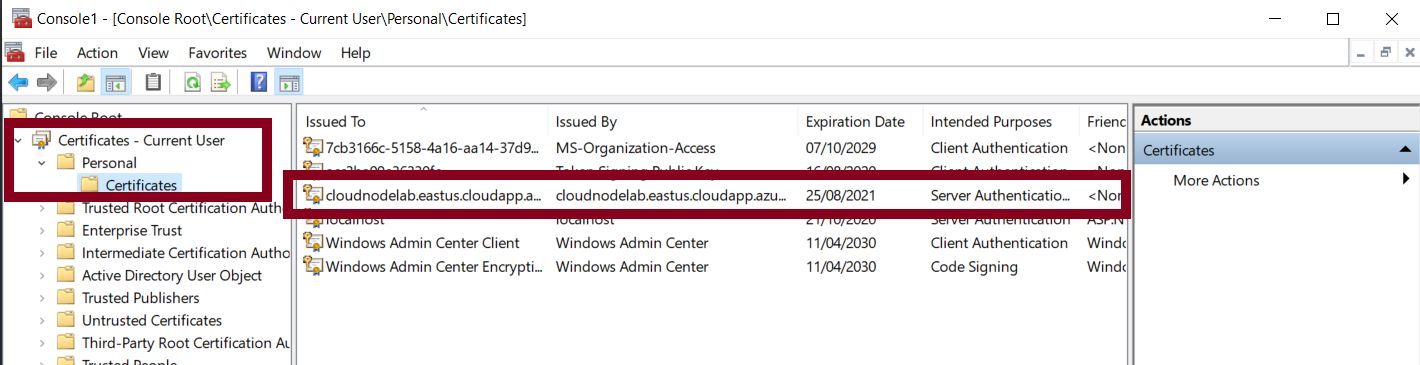
Next, import the downloaded certificate to the personal store of the current user account.
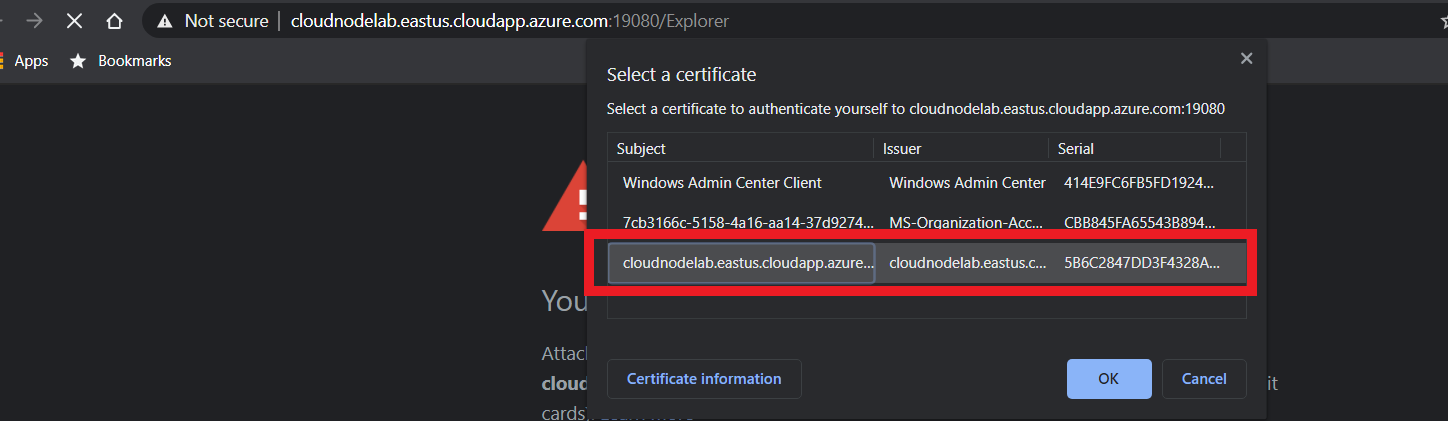
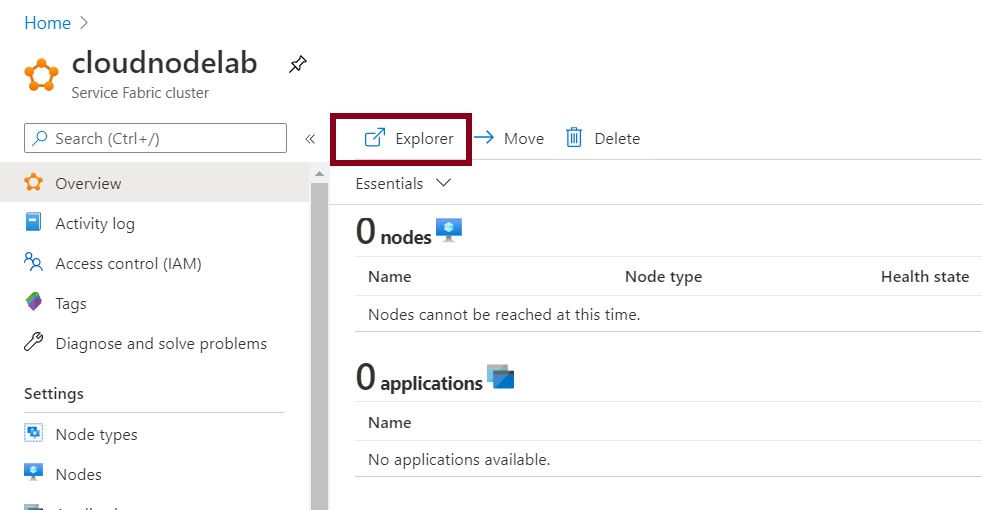
Next, head to your browser and try to access the cluster. This will present you with the screen shown below.
Select the previously imported certificate to authenticate to the cluster.